
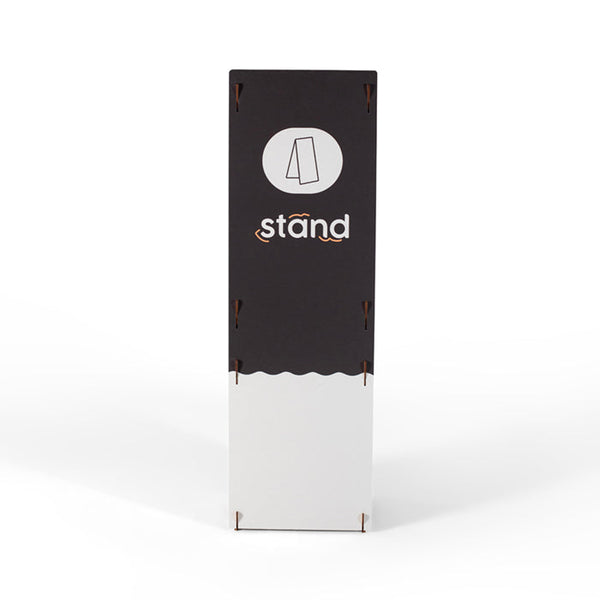
Double sided banner stand
A precision-crafted double sided display stand.
The Falcon Board panels are the interchangeable graphical inserts that hang on the structure. Standard pricing includes print on one visible face. Add reverse-side printing when you want the graphic panels printed on both sides.
Choose the veneer finish for your structure frame. All finishes are UV ink printed faux wood, always double-sided.
Every stand ships with your graphics professionally printed. Choose how your artwork gets made.
A precision-crafted double sided display stand with UV printed faux veneer finish.
Download templates and guides for your Double Sided Stand.
Watch the walkthrough and follow the steps below.
Select a video from your Shopify media library or paste a YouTube or Vimeo URL in the customizer.
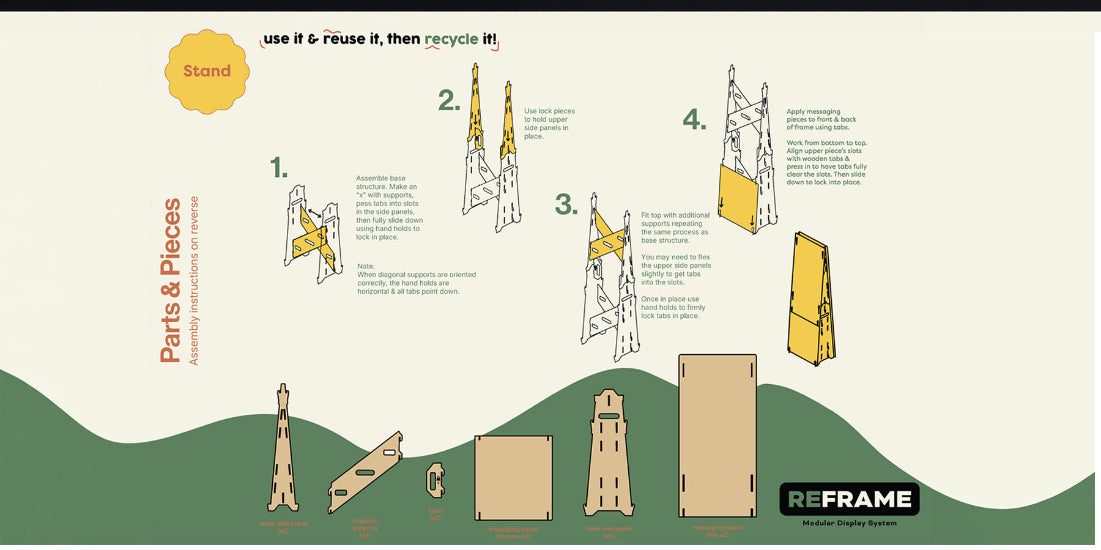
Unbox and inspect all components
Lay all pieces flat on a clean dry surface and confirm all parts are present.
Attach the veneer panel
Align the veneer flush to the recessed channel and press firmly from centre outward.
Insert printed sections
Slide each print section into the corresponding slot from the top edge.
Mount to wall optional
Use the four pre-drilled mounting holes with the included brass hardware.
Final check
Run a hand along all edges to confirm flush seating.